

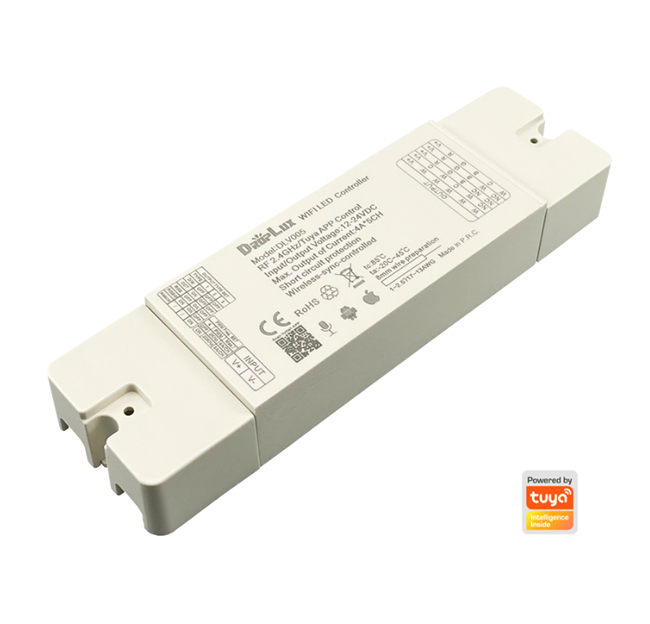


Product Details
- Working voltage: DC12-24V, Max. output current up to 25A, 300W/12V, 600W/24V.
- RF frequency 2.4GHz, Wireless-sync-control.
- Supports both manual knob dimming and remote control.
- PWM frequency is adjustable (6 levels: 500Hz,1KHz, 2KHz,4KHz, 7.8KHz, 15.6KHz).
- Adopt the knob control manner, soft dim function, display the brightness.
- According to actual needs, users can transfer the light to the appropriate brightness.
- External antenna, convenient to extend the antenna outside the metal case when needed.
- The T2 version can be controlled by the remote control by default, and the T3 version cannot be controlled by the remote control by default, which is more convenient to adapt to the needs of different scenarios.
- Short-circuit protection.
- 3-year warranty.
Technical Parameters
| Working temperature | -20-60℃ | Supply voltage | DC12-24V |
| Output | 1 channel | Static power consumption | <1W |
| Max. output current | 25A | Max. output power | 300W/12V; 600W/24V |
| Net weight | 65g | External dimension | L103*W40*H24 mm |
| Gross weight | 90g | Packing size | L140*W48*H35mm |
| Memory function | Yes | PWM frequency | 2KHz (factory default),500Hz,1KHz, 4KHz, 7.8KHz, 15.6KHz |
| Max. output current |
PWM<=2KHz: 25A PWM=4/7.8KHz: 15A PWM=15.6KHz: 10A |
Max. output power |
PWM<=2KHz:300W/12V; 600W/24V PWM=4/7.8KHz:180W/12V; 360W/24V PWM=15.6KH:120W/12V; 240W/24V |
Control method
This product supports both manual knob dimming and remote control dimming.
T2: can be controlled by any compatible remote control as default; if unique-control is needed, please matching the code before installation and using.
T3: cannot be controlled by remote control, please pair it to the remote control when remote control is required.
Please refer to the corresponding remote-control manual for operation instruction in details.
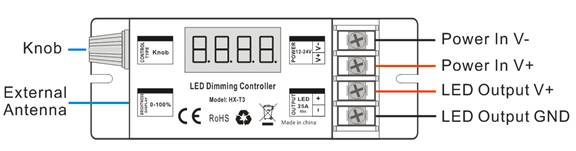
Connection port instruction
Direction for use
- Connect the load wire at first, followed by the power wire; Please ensure short circuit can not occur between connecting wire before turning on the power;
- Adopt rotary button, function as follows:
Clockwise rotation to brighten up brightness to 100% as the maximum; Counterclockwise rotation to dim down the brightness to 0% as the minimum.
- PWM display: P005=500Hz; P010=1KHz; P020=2KHz (factory default); P040=4KHz, P078= 7.8KHz; P156=15.6KHz.
PWM Frequency Adjustment operation :
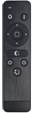
1) by HX-RFBT-2.4G remote control: Press and hold the remote control “Set” for 5 seconds after switch off the dimmer by remote control(the dimmer is in off state) within10 seconds, display will show as: P***. Means enter “PWM adjusting” state. Pressing to adjust the PWM frequency, pressing “Set” button again to save it after finish the setting operation. Then the dimmer return to power on state automatically.
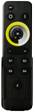
2) by HX-RFBT10-2.4G remote control: Press and hold the remote control “Set” for 5 seconds after switch off the dimmer by remote control(the dimmer is in off state) within10 seconds, display will show as: P***. Means enter “PWM adjusting” state. Press Brightness +/- keys to adjust the PWM frequency, pressing “Set” button again to save it after finish the setting operation. Then the dimmer return to power on state automatically.
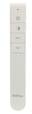
3) by HX-RFBT12-2.4G remote control: Pressing DIY1->DIY2-> DIY1->DIY2-> DIY1->DIY2 (3 times for each) within 5 seconds after switching off the dimmer by remote control, display will show as: P***. Means enter “PWM adjusting” state.; press ∧/∨ to adjust the PWM, pressing “DIY1” button again to save it after finish the setting operation. Then the dimmer return to power on state automatically.
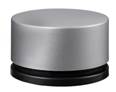
4) by HX-RFBT15-2.4G remote control: Pressing C->D->C->D->C->D (3 times for each, C-matching key, D-clearing key) within 5 seconds after switching off the dimmer by remote control, display will show as: P***. Means enter “PWM adjusting” state. Rotating the knob to adjust the PWM frequency, pressing “C” button again to save it after finish the setting operation. Then the dimmer return to power on state automatically.
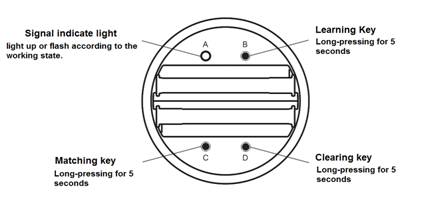
Please note: PWM setting operation should be finished within 1 minute, Will automatically exit PWM adjusting status without save it after 60 seconds.
Wireless-synchronization function
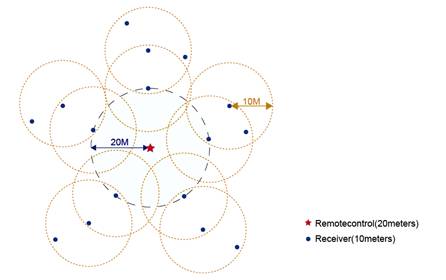
Receivers will transmit the control signals from the remote control and self-inspection the work statues for each other, so multiple receivers in same zone will wireless-sync-work completely.
Compatible remote control
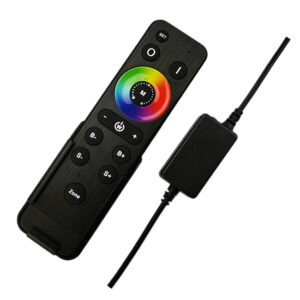
| Item:HX-RFBT-2.4G(1 zone) | Item:HX-RFBT10-2.4G (4 zone) | Item:HX-RFBT12-2.4G(1 zone) |
 |
 |
 |
| Item: HX-RFBT15(1 zone) | Item: HX-HWP86-DIM-4S(4 zone) | Item: HX-HWP86-XSP(4 zone) |
 |
 |
 |
| Item: HX-HWP86-SR(PIR/Lux-sensor) | Item: HX-WP86-AP (RF signal repeater) | Item: HX-TUYA-2.4G-DIM |
 |
 |
 |
Typical Applications
Application Circuit:

Precautions
1.The working voltage is DC12V~24V, and it must not be connected to other voltages;
2.Ensure that the wiring is correct and no short circuit before power-on;
3.It supports wireless-sync-dimming by remote control, please refer to the remote control setting manual for details;
4.PWM dimming frequency is adjustable via remote control. The maximum output load power corresponding to different PWM frequencies is different. Please do not overload it.
5.Warranty of this product is 3 years, exclude the artificial situation of damaged or overload working.
Product information for placing order
| Product name | Item number |
| RF Single Color Dimmer |
HX-T2 (can be controlled by any compatible remote control as default) HX-T3 (cannot be controlled by remote control, need to pair if needed) |
Reviews
There are no reviews yet.